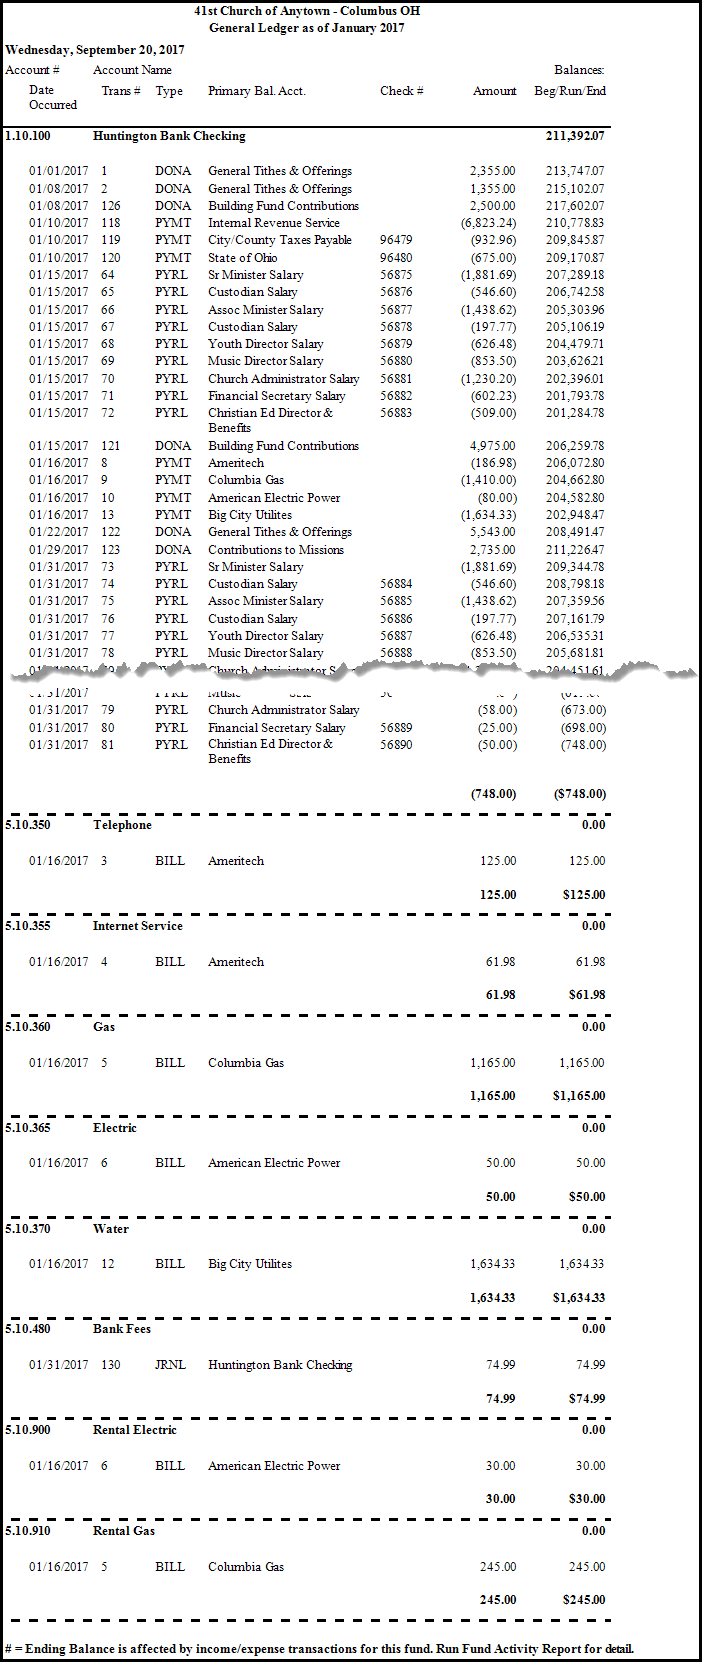
General Ledger
The General Ledger is a report used to troubleshoot discrepancies in transactions and/or balances in your Accounting history. It is a very detailed report and has many options that can be utilized to track down any issues that may be hard to find.
To view or print the General Ledger:
- Click Reports/Export in the Button Bar at the top of the screen.
- Click the Transaction button and a menu will show the option for General Ledger.
- Click the General Ledger option.

Options tab
- Accounting Year —
Choose the desired year from the dropdown box. - Transaction Type —
Place a checkmark next to each you wish to include in the report.
Remove the check from the box to exclude that Transaction Type from the report. - Balances...
Choose either:- For Month and select the month from the dropdown.
- Year to Date and choose the specific date.
- Filter Accounts to Display —
Click the Funds or Single Account dropdown box and choose the desired account. - If you are choosing a Fund, you can Include Sub-Fund Income / Expense Accounts by placing a checkmark in the box.
- By choosing to Filter Accounts to Display, you specify that the report will only show the accounts associated with the options you click.
- Include...
Place a checkmark next to any or all of the following boxes to include Running Balances, Accounts with No Activity, and/or Reversed Transactions on the report. - Primary Bal. Acct. Column Displays...
Choose between having the Vendor / Payee / Client Name or the Account Name to be the item that appears on the report in the place where the Primary Bal. Acct. Column is set to display.
Choose any of the following tabs to apply additional settings:
If the group you wish to choose is not there, you can even add a new group by clicking + Custom Account Groups button, and adding to the new group only the accounts you wish the report to show.
Check the Visible Columns list on the to see which columns are set to display.
- You can also use the Columns tab to make the Line Item Comments a Visible Column.
- Then return to the Options tab to choose between all showing comments with each transaction or the Account's comment only. If the Line Item Comments shows in the Available Columns list on the Columns / Fields tab tab, you will not be able to choose what between the two options until you add the Line Item Comments column to the Visible Columns list.
- There is also a button at the bottom if you want to clear your customizations and revert to the original layout, click the Reset to Default Fields button.
Change the size and style of the font that prints on the report.
Once you have made all of your selections, click Print to view a Print Preview and then proceed in sending the file to your printer. You can also Export most reports and/or Send via Email as a file to be used outside of Church Windows.